-
BG Quick Cure Headlight Restoration Kit ReviewSTUFF 2020. 10. 20. 23:16
BG Quick Cure Headlight Restoration Kit Review
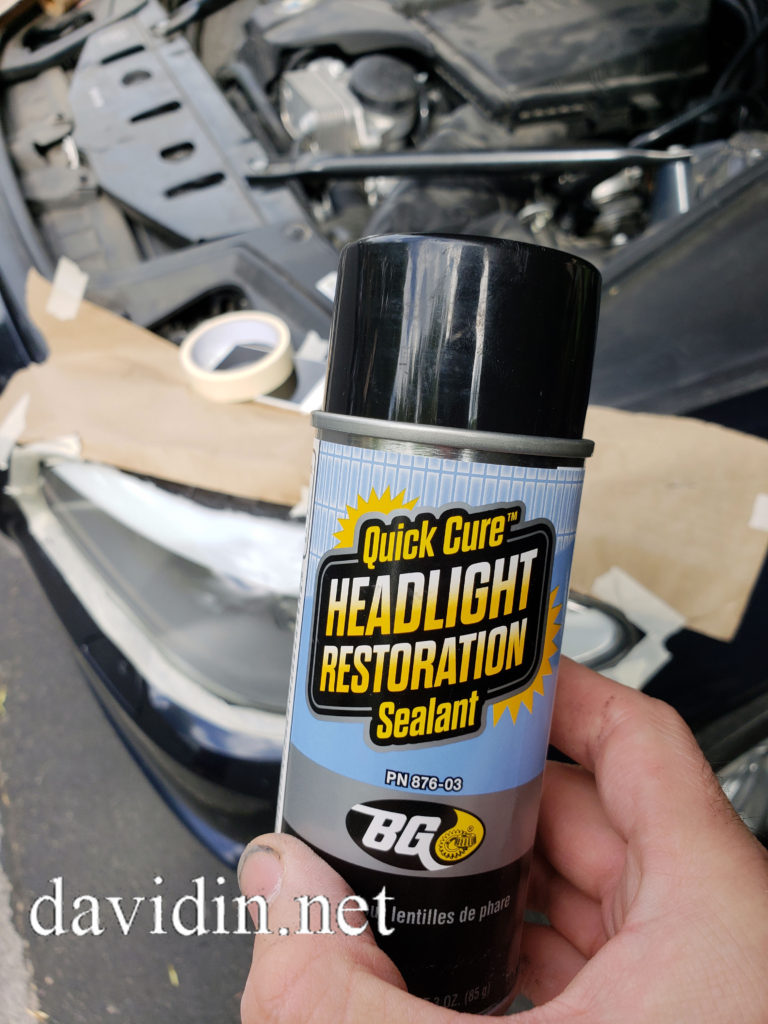
My headlights were not that old and foggy, however after my last service visit at BMW, they left gunk on my headlights, which car washes didn’t take off. A buddy of mine who works for BG came to the rescue after I told him what happened, and gave me the BG Quick Cure Headlight Restoration Kit to try out on my headlights. Again, as my headlights were not THAT foggy, I wasn’t expecting too crazy of a outcome, but once again I was wrong. Out of 5 stars, I give this product a 10!
For starters, before going in to more detail about the product and the steps that this process involves, I will show you a before and after pic below.
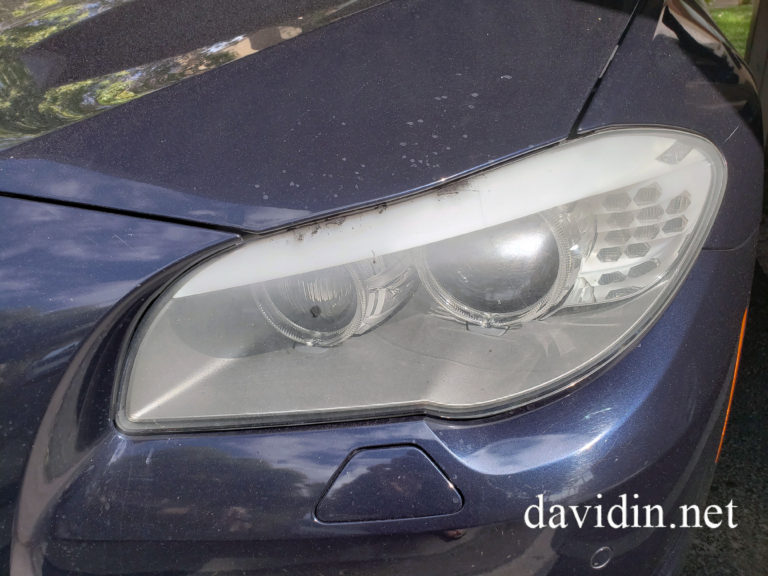
As you can see above, the difference is night and day! Was it hard to do? Not at all. It was my first time using a product of this sort, and I think all together it took me about 15-20 minutes to do both headlights.

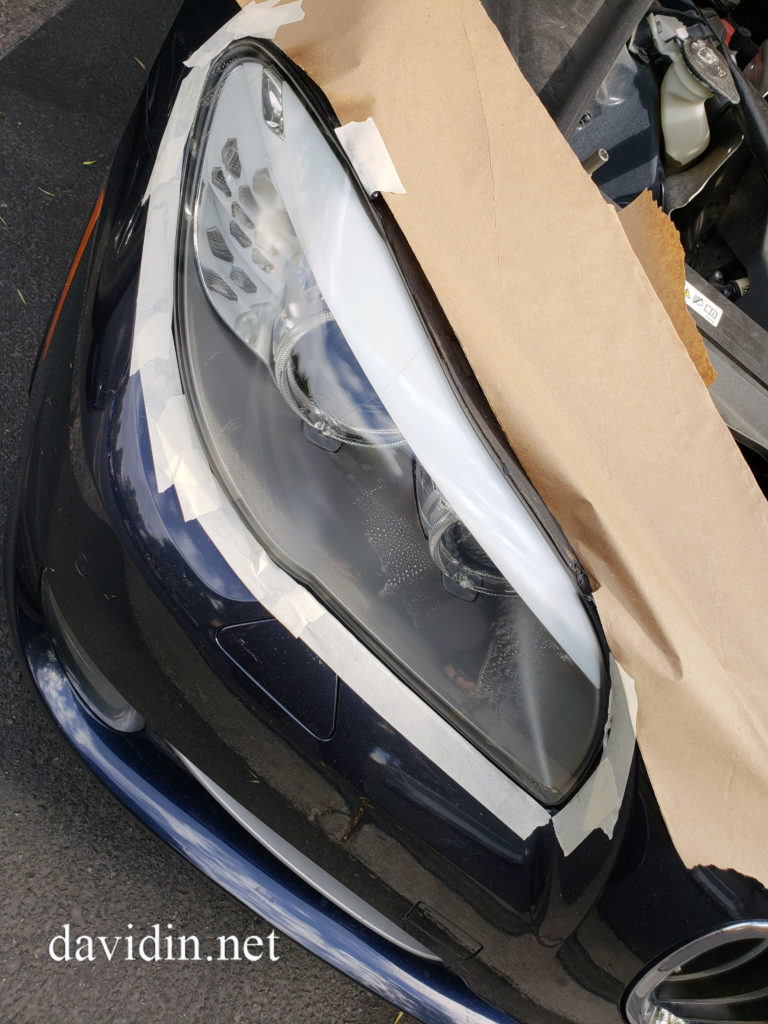
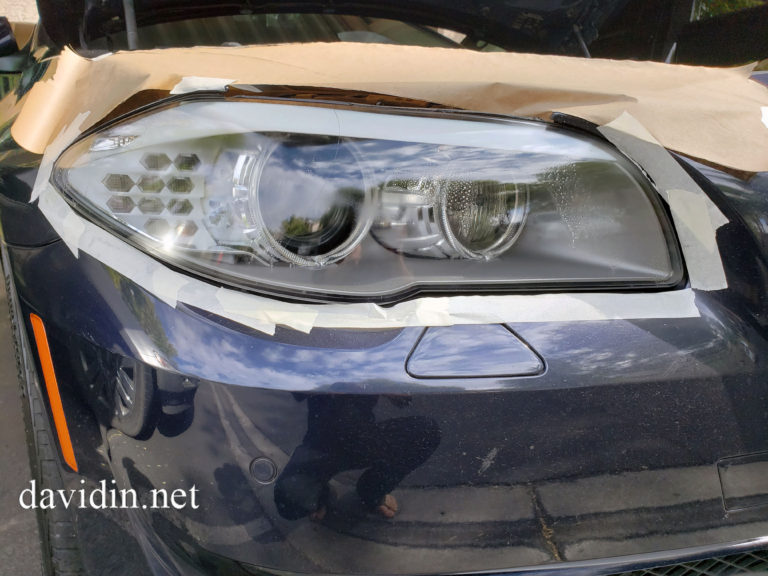
The kit literally comes with everything you need to restore your headlights to brand new. Alcohol prep pads, masking tape, paper, 2 different grade sand paper, and the clear coat to finish it off. You start by prepping your car headlights with the alcohol wipes, and then putting the masking tape around your headlights. I used some of the provided brown paper for the top parts, but this may vary based on the shape of your headlight. And now the scary part. You have to use the sand paper and sand down your headlights. This 2 part process literally takes off all of your clear coat, and anything else that was making your lights look foggy. Your lights will look like they are damaged, and completely dull and grainy, however this is normal so don’t worry.

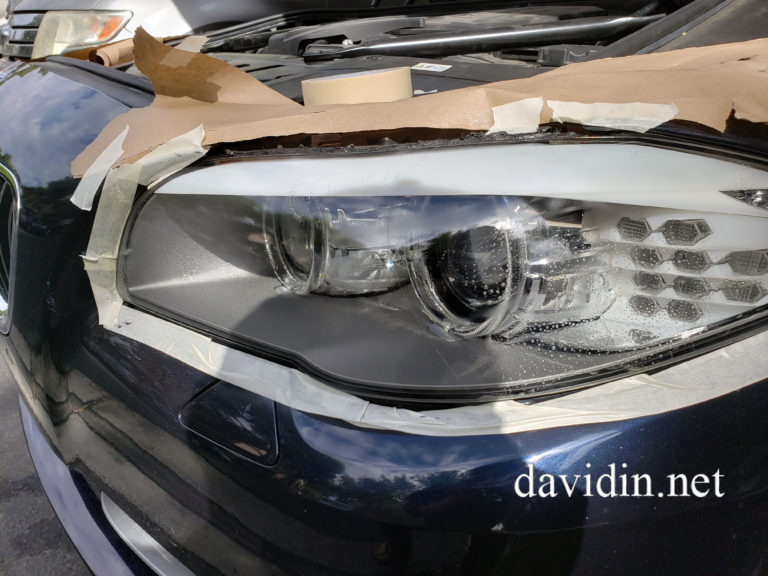
After you are finished up to the sanding part, the included instructions weren’t really clear on this, however I used common sense and wiped down my headlights before applying the clear coat. The clear coat is probably the hardest part of this whole process. The instructions say to only spray left to right. They are dead serious about this. If you spray up and down, the clear coat will not go on evenly because of the shape of the spray.
As I mentioned above, spraying the clear coat on you headlight evenly will probably be the hardest part of this whole process. I recommend you have patience, and don’t rush this part. Although my headlights look pretty much like new, and of course look much better than they did, I may do it one more time just to get the clear coat part perfect.
As this product was given to me, I don’t know how much it costs exactly, but when I searched on Google, it’s about $50. It is definitely worth $50 and the 20 minutes or so that it would take to use this product. The instructions are pretty clear and easy to follow. The only pointers I would add is taking time with the clear coat with left to right sprays. And if you have a garage where you can do this, it would be better. Not mandatory, but easier in a garage. D.I =)
OCTOBER 7, 2018 BY DAVIDIN
'STUFF' 카테고리의 다른 글